Some of the links on this page are affiliate links. When you make a purchase through an affiliate link, I earn a commission at no cost to you. See my entire disclosure policy for all the boring details.
BIG UPDATE!! I have a whole brand new site dedicated to helping you get started with homeschool in the little years.
As of this year, 2022, we have our 4th preschooler at home. I have learned & adjusted SOOOO much of what we do with this age at home. My new site as a couple really high quality resources for you – a free reading readiness guide to help you determine whether or not your preschooler is ready to learn to read. I also have a guide about how to teach letter sounds (phonograms), including some simple activities you can use. AND I have this updated post about my recommended resources for preschool 🙂
What I’ve done with our 3rd and 4th preschool age children is almost NOTHING like what’s below in this post. LOL!!
Main takeaway- your first child is your homeschool guinea pig and you will learn as much as they will those first few years. Haha 🙂
I have another post that talks about about why I’ve started some semi regular “learning time” (aka: quasi home school preschool thing) for our 3 year old. This post will give you some home school preschool curriculum & prep details. Here’s the lowdown on what we’re using and how I’m prepping and organizing all this without having it take over my life, my minimal free time, or our relatively small house.
Disclaimer: I used to be a teacher. So I legitimately get excited to organize curriculums, and a lot of the stuff that goes into planning for a week of “learning time” is second nature to me. Curriculum binders and writing folders and manipulatives are my jam.
All that to say: you don’t have to have a teaching background to teach your child at home. I’m going to share my systems in ridiculous amounts of detail in case that’s helpful for you. But, if you think my systems are confusing or stupid, come up with your own! Google a couple ideas, figure out what works for you, keep it simple, and adapt as needed. (Then send it to me, because I’d love to share several ideas for ways to teach littles at home.)
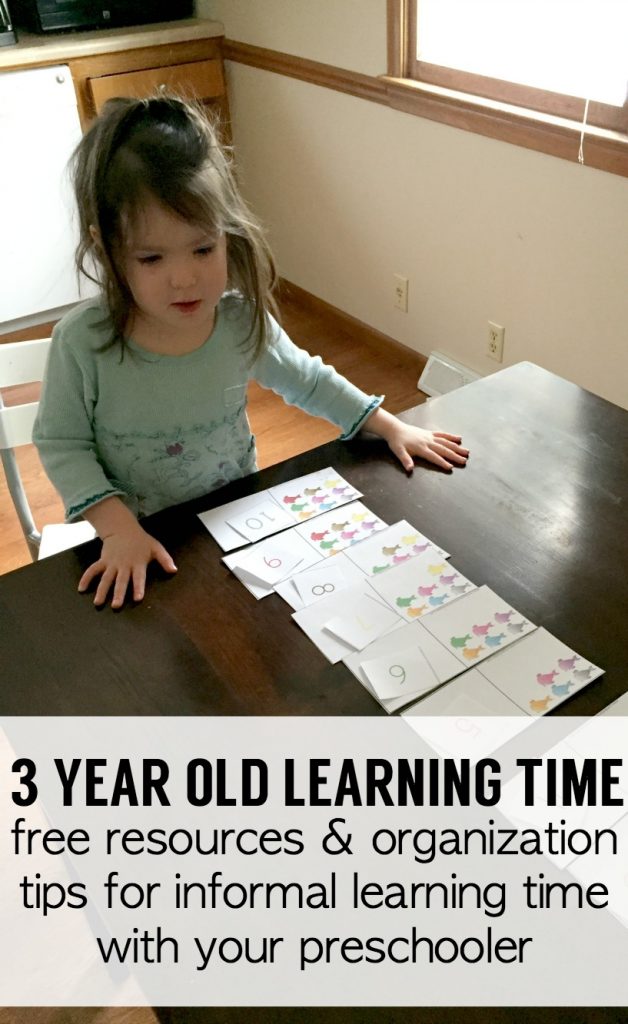
When & How We Do Learning Time
She’s usually interested in working for about 20-30 minutes. Sometimes less, sometimes more. The pace and materials are mostly dictated by her interest level anyway, which I think is highly important if you’re going to attempt any sort of structured learning at this age. No need to force letter-of-the-week on a kid who doesn’t care. My opinion (and the opinion of most early childhood experts) is that the majority of learning at this age happens through their natural environment anyway.
Our mornings are basically occupied, and I didn’t want to change our routine. We either go somewhere (gym, store, library, bible study, playdates), have friends over, or just play at home. They both still nap from 1-3 ish, and we’re obviously not ditching that either. Most days, learning time happens around 3 or 4pm, whenever my 3 year old is up from her nap. She’s started asking excitedly every time she wakes, “is it morning or afternoon time? Is it time for new fun learning time?” MELT.MY.TEACHER.MOM.HEART.
If she asks to do “learning time things” at other times of the day, I offer her something else that’s review. A coloring page for letter of the week, cutting, patterning, beading, other fine motor activities, etc… something that’s already prepped and requires minimal helpf rom me.
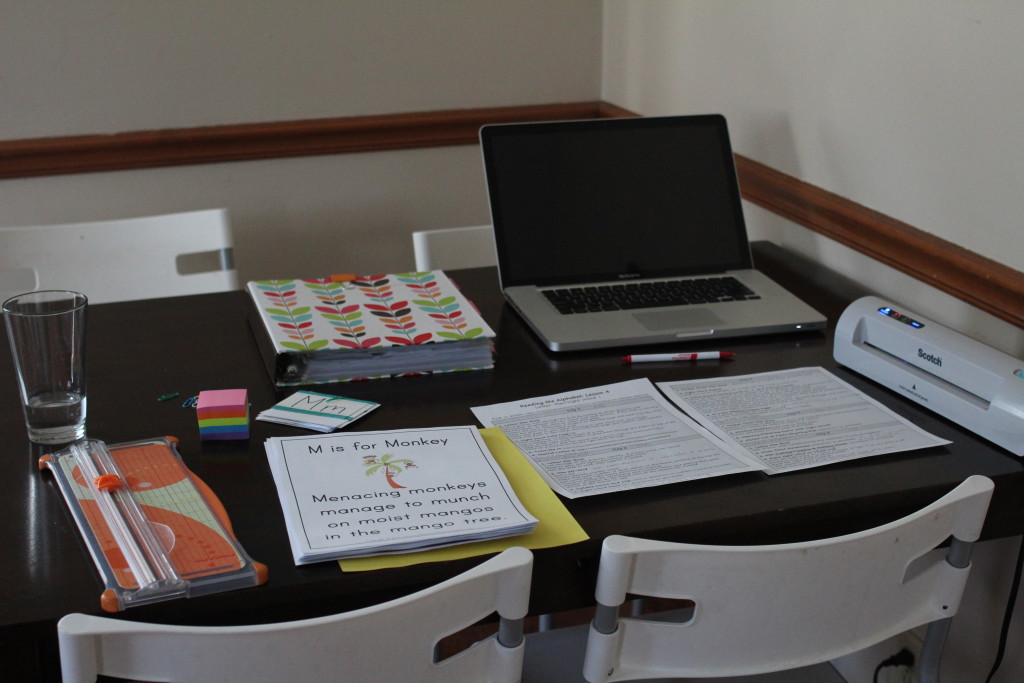
During afternoon learning time, aside from taking a few pictures of our activities for blogging, I sit down and work with her phone-free. She is a momma’s girl to the core, so she loves having my undivided attention and working on something together. Emma (almost 21 months) does not want to be left out, so she usually joins nearby with an age-appropriate toy.
Or she does dot paints on the kitchen floor….
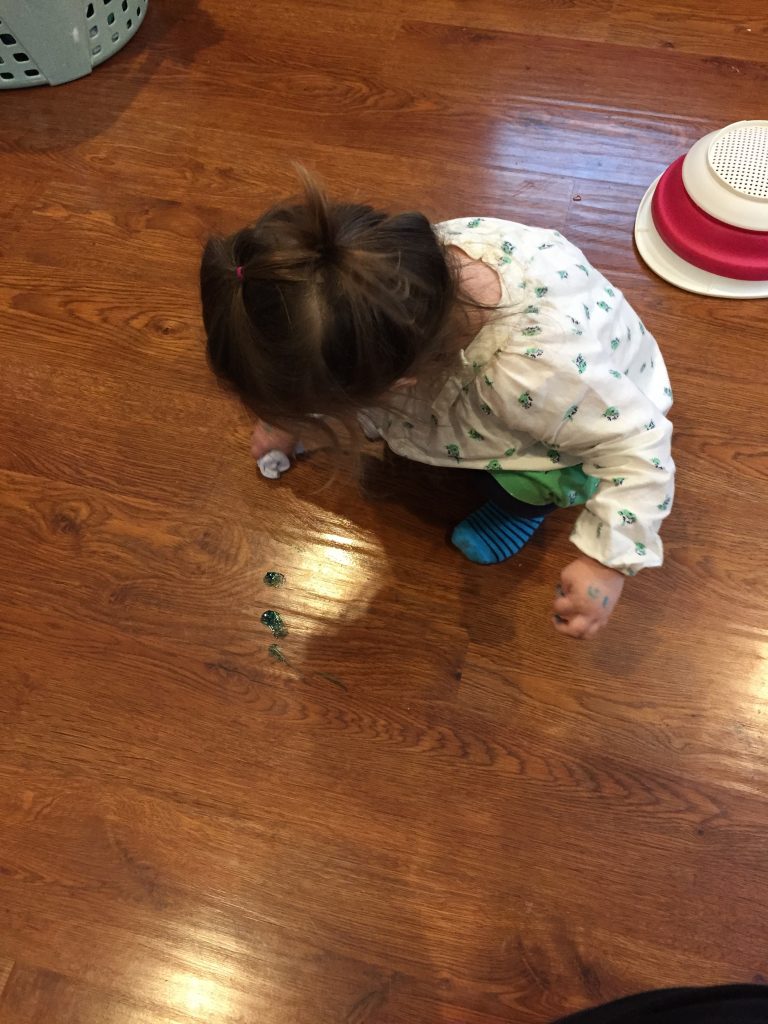
If she wants to be included, I’ll give her some version of what Addie’s doing so she feels like she’s participating. I have some independent activities for Emma’s age level too.
As some of the activities have become repetitive each week, I sometimes do dinner prep nearby while she works on some of the independent activities – coloring, cutting, gluing, etc.
Our Preschool Pre-Reading Curriculum
Remember… I do none of this anymore. Haha! After homeschool preschool with 4 kids, I know there’s a better way than printing off an insane amount of activities for a letter of the week.
I’m using the free version of a reading curriculum from “The Reading Mama,” called “Reading the Alphabet: a Free preK Reading Curriculum.” That link goes to the page that explains everything about the curriculum. It has all the downloads for free, or you can buy the bundle for $12 if you want to make your downloading life easier.
I’m also supplementing some of the week’s with free activities from the Letter of the Week Curriculum by Erica Arndt who writes at Confessions of a Homeschooler. When I’m get everything ready for the week, I just google “Confessions of a home schooler preschool letter F” (or whatever letter we’re doing), and glance through her post about that letter to see if there’s anything that looks particularly fun to add some variety to the week’s activities. I considered buying her curriculum in it’s entirety (and it looks really good!), but she has a lot of the activities for any given letter for free in each post. Free means slightly extra downloading hassle, but for now, the frugal part of me won.
So far, my opinion is that “Reading Curriculum” is a loose term. Pre-reading is probably a better way to describe it. Letter sounds, sight words, counting, and sorting are the main reading and math skills so far. Also, there’s a variety of general print awareness and ordering activities, which kids pick from reading books with parents and playing with legos. (I.e. left to right, top to bottom, pointing to one word at a time, smallest to largest, number order, etc…)
No Guilt Allowed!
I debated whether or not to even write this post, because I didn’t want one person to read it and think, “I can’t do that,” or “that’s so unrealistic.” Remember, this is only one way to plan and prep. It doesn’t have to be the way that works for you. You might google “letter A activities” on Monday, print the first 5 things you see and call it a day. Or, like my friend who texted me the other day, you might be more inclined to throw up a fort, read some books inside and call it home school. Perfect. Or, doing anything with a letter or a number at home with your 3 year old might never cross your mind. Great. There is no NEED to home school our 3 year olds and there is no perfect way to do it. #NoMomGuiltAllowedHere. (Stepping off soapbox.)
Okay, here’s my process:
1. I do everything for a week’s set up in about an hour, often on Sunday afternoons or Monday evening. The first week, it took me 2 hours, the second week was 1 1/2 hours, and now it’s down to about an hour. I don’t allow myself to browse any extra ideas at this time either. My no-browsing-no-pinterest rule is key to getting this done quickly and not having prep take up a bunch of time. #AintNobodyGotTimeForThat
2. I go to The Reading Mama Free Preschool Reading Curriculum, scroll down and click the letter we’re on. That takes me to her post about that letter. (Example letter F.)
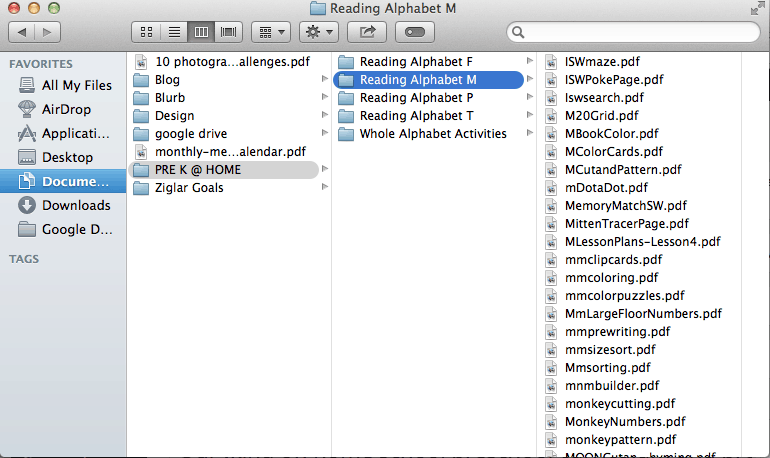
3. I glance through her post, scroll to the bottom, and click the link at the bottom that says “THIS ZIP FILE,” which downloads everything for the week to my computer, including a lesson plan page. I double click the zip file, which opens a new folder in my computer’s “downloads” folder.
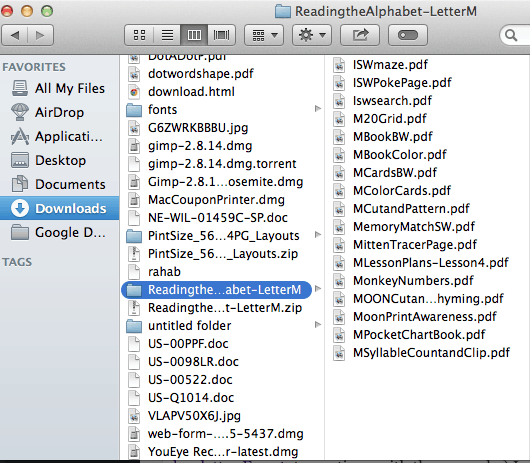
I move that new folder (example: “Reading Mama Letter F”) to my “PRE K @ Home” folder.
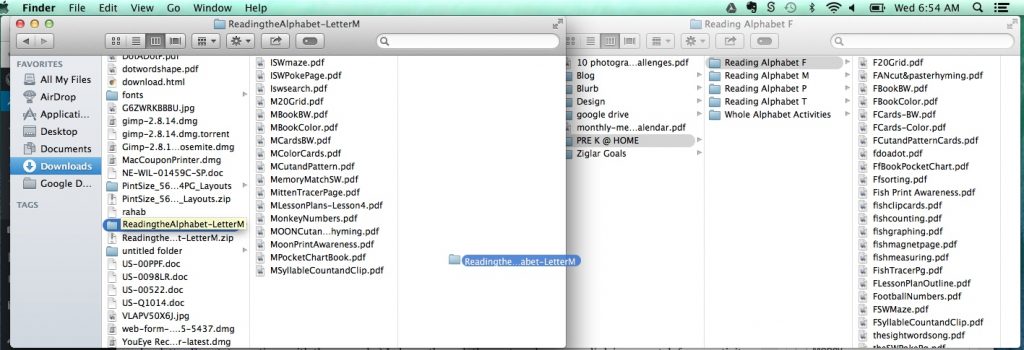
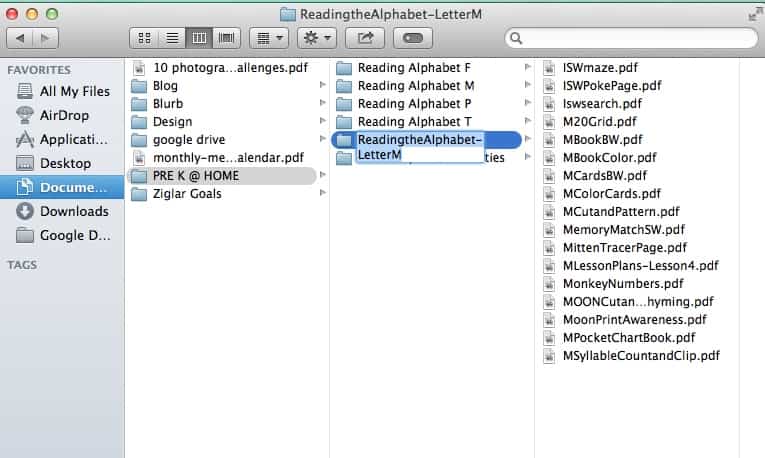
I rename it to be “reading alphabet M”
Voila!
4. The lesson plan page for the week spells out what activities to do each day. Here’s a screenshot of one, for example:
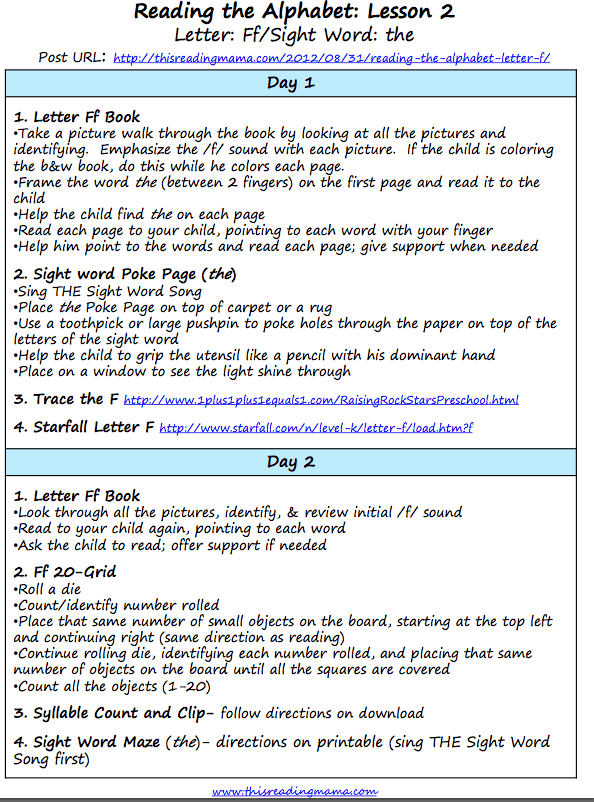
5. I first print the lesson plan page. (Printer Side Note: We have this printer and love it. If you’re going to do any amount of homeschool, or any other large amount of printing from home, you will want a laser printer instead of an ink printer. Though a laser printer costs more up front, it will save you TONS of money in the long run. Toner is cheaper than ink long-term. I print as much as possible in black and white, but choose color for the fun stuff. When I print color, I choose “economode,” which causes the printer to use less than half the toner. The color is lighter, but who cares? Not my 3 year old. This doubles the life of our toner cartridges![]() .)
.)
6. Then, I google to find the post from Confessions of a Home Schooler for that week. (Here is her letter F post, to continue with the example.) I glance through the post, and open any link in a new tab for an activity that I want to download and use for the week, in addition to The Reading Mama stuff. I might eventually decide to buy one or both of these curriculums to make this process even faster.
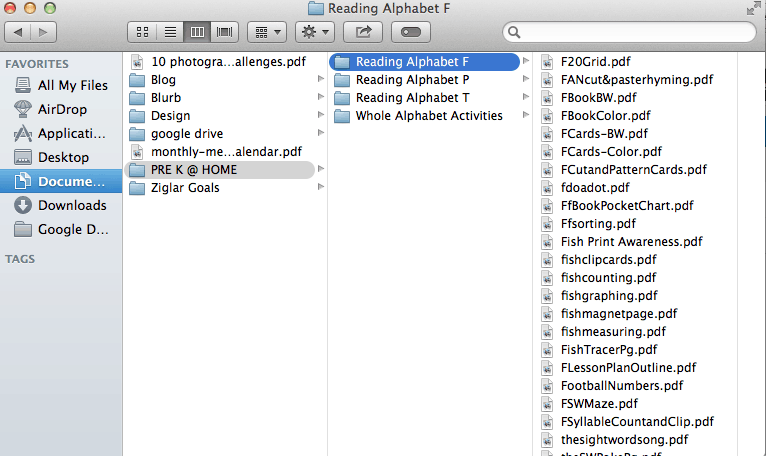
7. I download and move all those open files into the same folder as my Reading Mama Curriculum Folder.
8. I write those activities into my hard copy lesson plan that’s printed out, and cross out any of the Reading Mama stuff that we’re not going to do.
9. I then print everything from the folder on my computer that I need for the week.
10. Then, I cut everything, laminate a few things, and group it together by days with paperclips. (This is the laminator we have, and these are the pouches we use. I don’t laminate very much. Only things that get used over and over. Anything that is for tracing, I put in sheet protectors in her own “writing binder,” copying The Reading Mama writing binders.
This is the newer version paper cutter I have. (Mine is at least 7 years old…) It’s amazing & easily cuts through 6 sheets of regular paper or 3 pieces of card stock. I replace the blades every so often. I would highly recommend a paper cutter if you want to try pre-k at home activities. I like the laminator, but it’s definitely an “extra.”
11. I have a kitchen cabinet that holds a few school items, including a cardboard storage box (like this one) full of “manipulatives.” Giant buttons, beads, popsicle sticks, poofy pom poms, mini clothespins, pretend coins, etc… Anything that can be used for the hands-on stuff. As you can see, most things in here are stored in small ziplocks. I grab any manipulatives we’ll use this week for activities from the box.

12. Each day’s activities are paper-clipped together and labeled with a post-it. I put them all in a cheap Target paper tray, along with the lesson plan pages and any manipulatives in ziplock baggies.
13. Each day, I pull out the day’s paper-clipped activities out and set them out on the table right before I wake her from a nap. She gets to choose what she wants to do in what order. If she doesn’t want to do something, we skip it.
14. So far, I have one 1″ binder for all curriculum type storage. I’m guessing if we continue with this, the whole alphabet will take 3 binders (or 1 REALLY big one). At the end of the week, I put everything from that letter that is reusable in one sheet protector, using it kind of like a giant clear envelope. Sometimes, a lesson’s activities will want you to use pictures from a previous week, so it’s nice to have this on hand. Plus, if it “works,” or I decide to do all this with subsequent kiddos, I won’t have to reprint a lot of it.
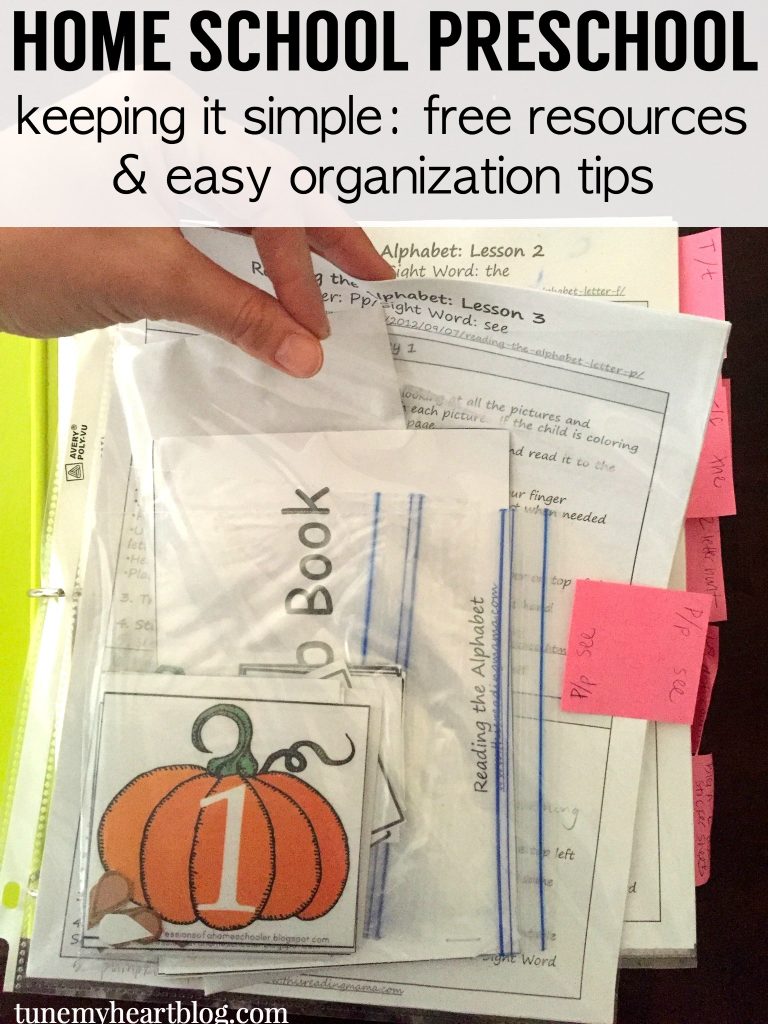
I keep a few things she completes on our fridge throughout the week. Something she’s proud of, something that has the sight word on it, something that has the letter of the week on it, etc. At the end of the week, though, I toss everything that isn’t reusable. I am not a saver of paper 🙂 The purpose of these things is for her to practice skills. Then it goes in the trash.
The end! (I tried to be detailed to be helpful, but if that process sounds overwhelming, then erase it from your brain and find your own process. I will not allow ANY being overwhelmed about toddler/ preschool aged learning activities.)
Just Beginning
Really, this is all a trial of sorts. I hope we’ll be able to stick with this through the whole alphabet, but it’s very flexible. Maybe she’ll outgrow it, or lose interest. Very likely, baby #3 will come sometime around 13-14 weeks from now, and we’ll take a few months’ break. I tried having a Montessori inspired shelf in our family room and it wasn’t sustainable. It worked until Emma could walk over and pull everything off. Also, it was hard to have that shelf with other kids over (which we have a lot of)! Not to mention the financial investment of materials for Montessori. And it required more pace. I still like the idea of Montessori in home but it isn’t sustainable. And this is, for now.
Does that leave you with any questions? Anyone out there have resources to recommend or ideas for teaching little ones at home?